


Filters

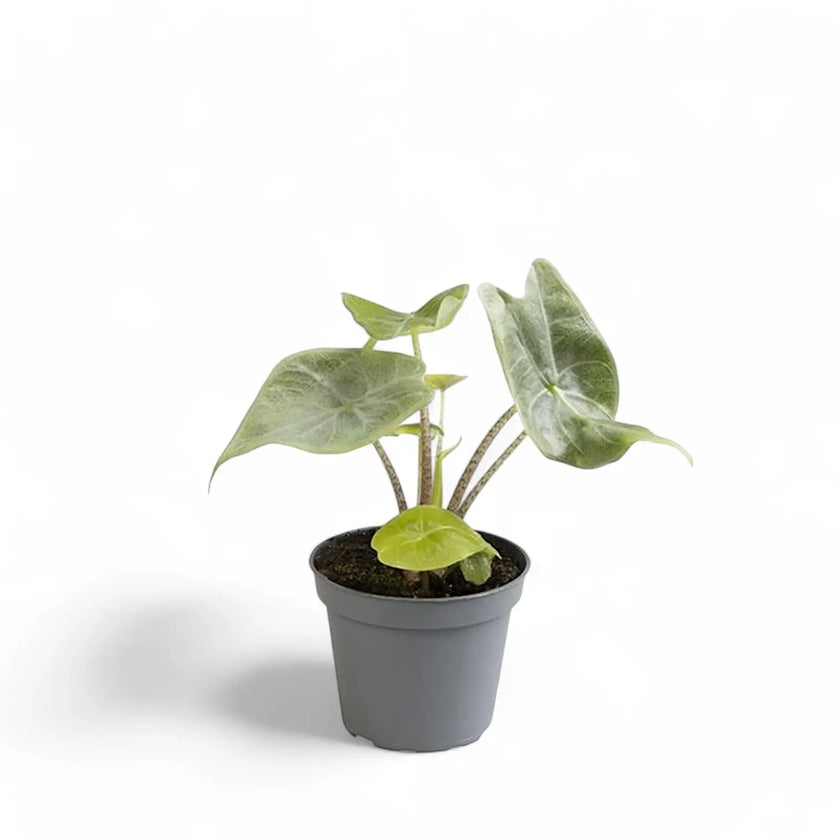
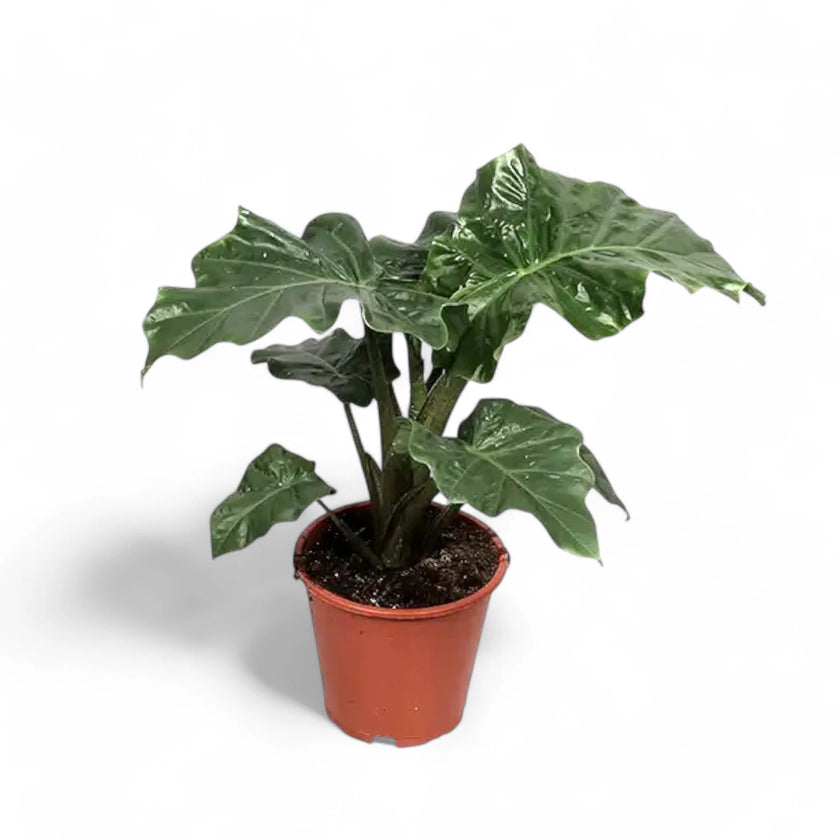
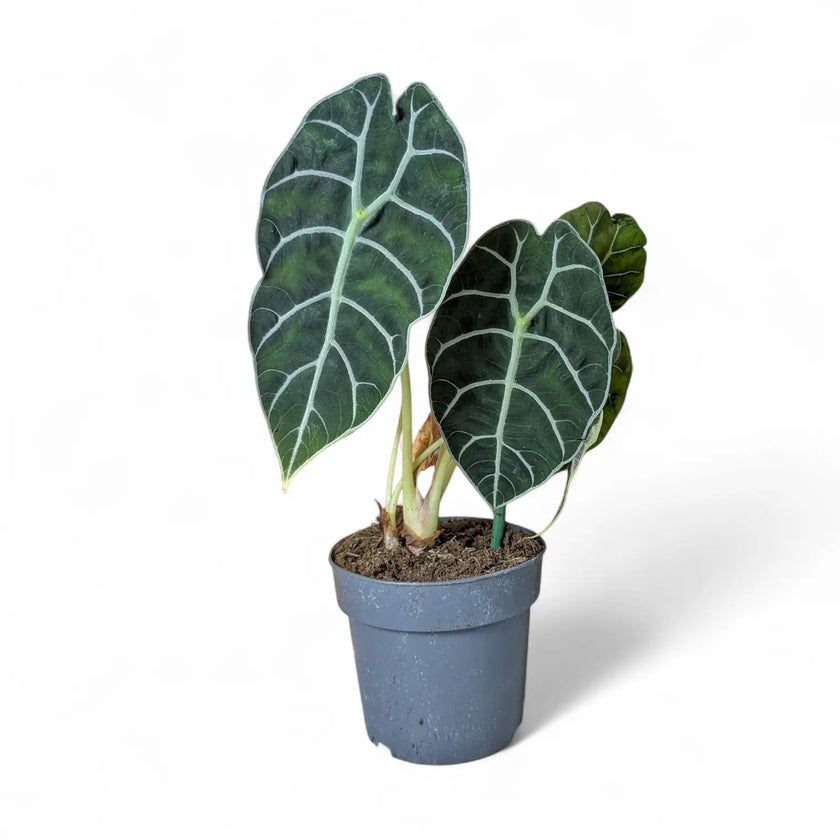
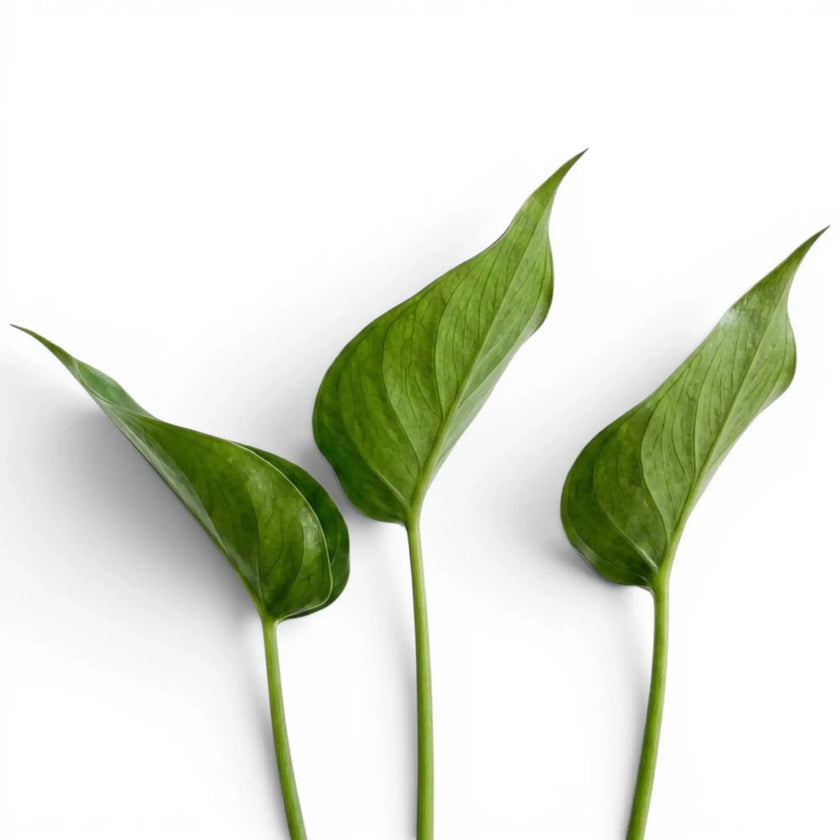
Alocasia 'Antoro Velvet'
Regular price
From €10,75
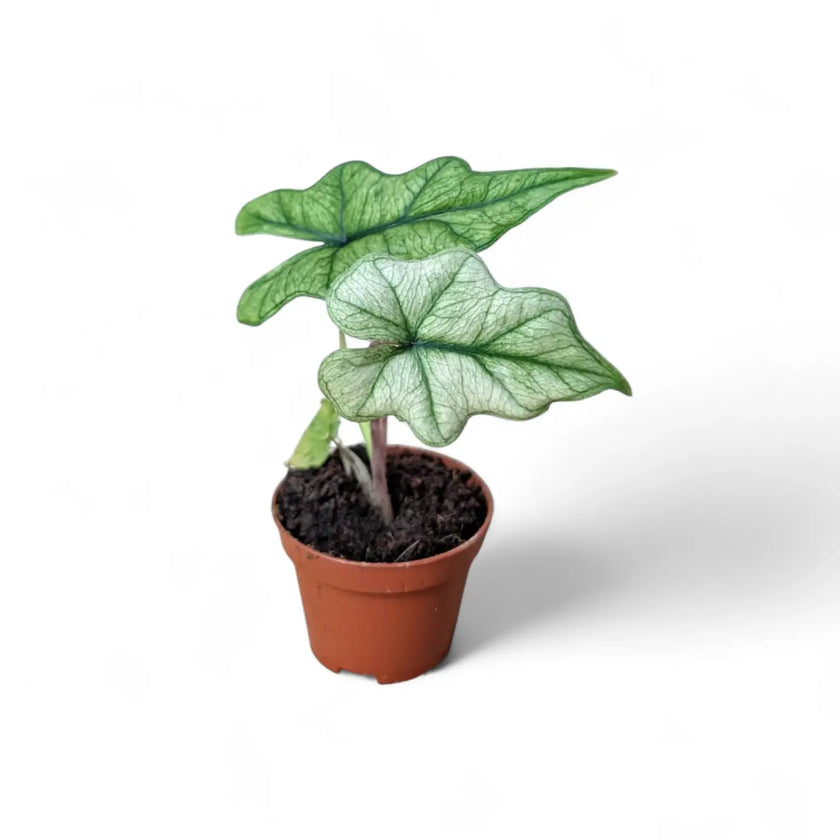
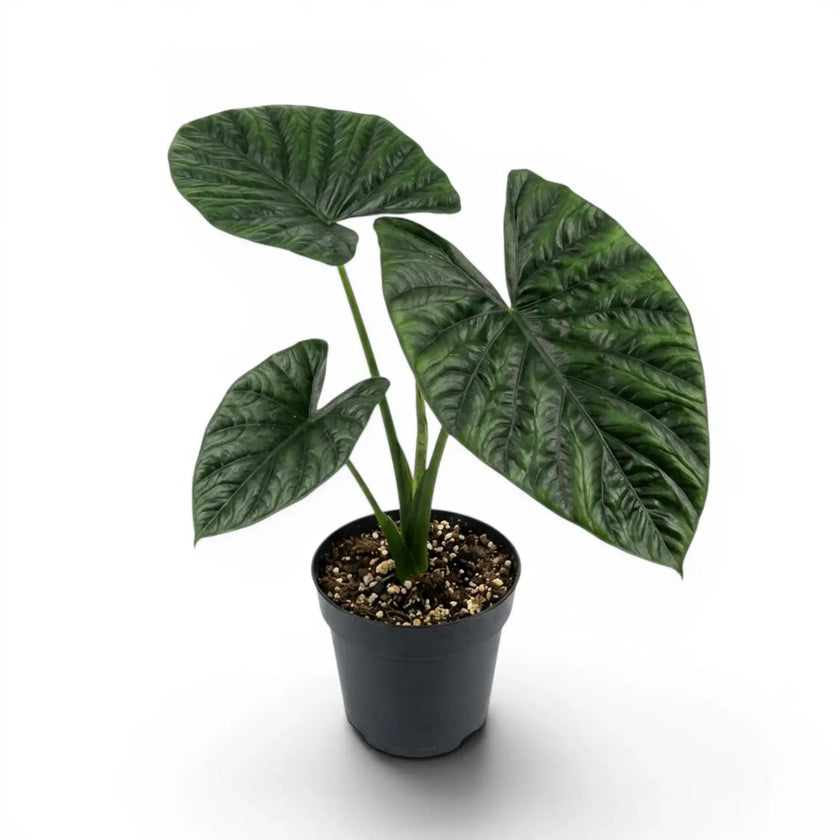
Alocasia 'Balloon Heart'
Sold out
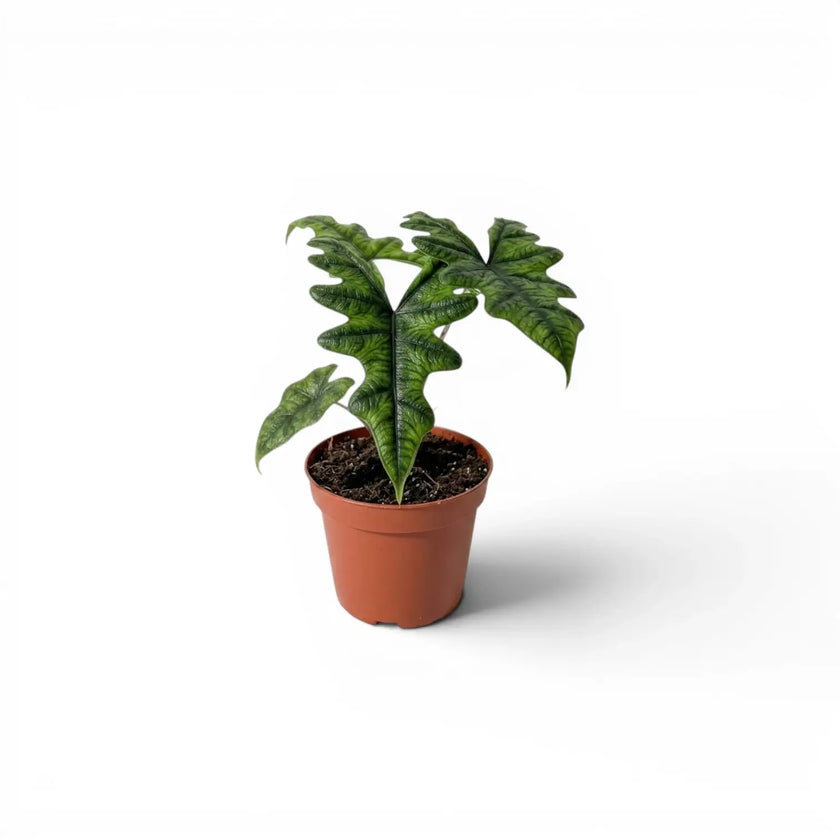
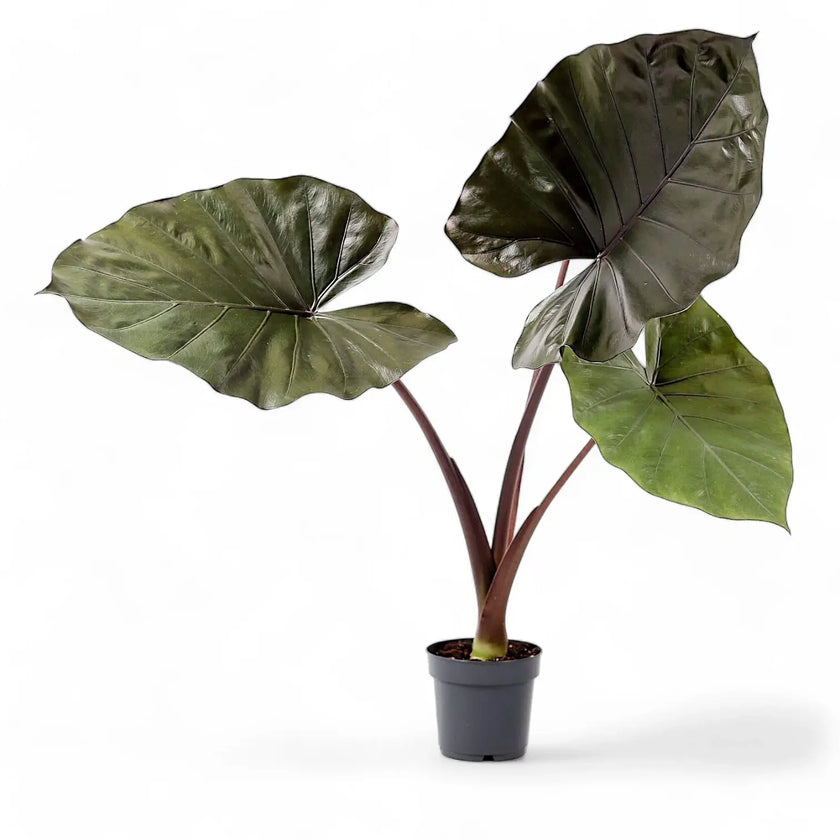
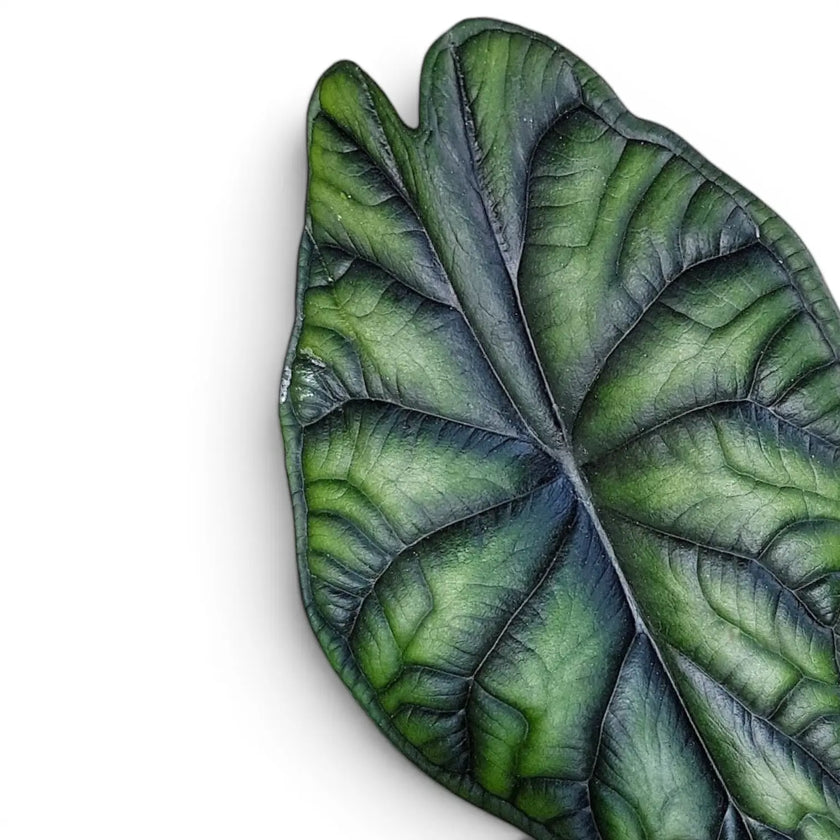
Alocasia 'Bambino Arrow'
Sold out

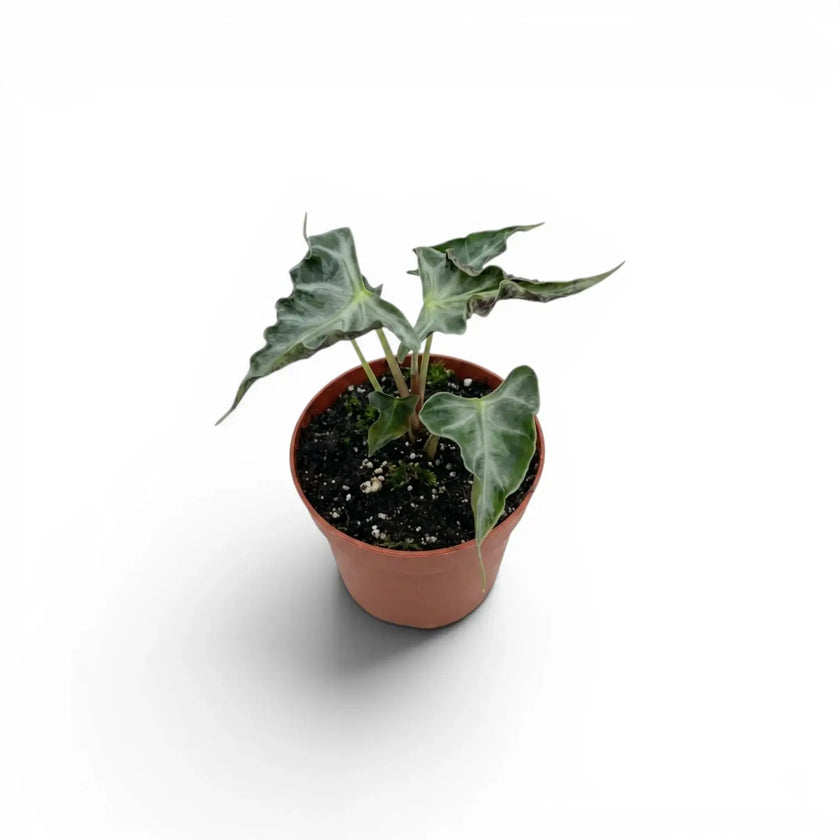
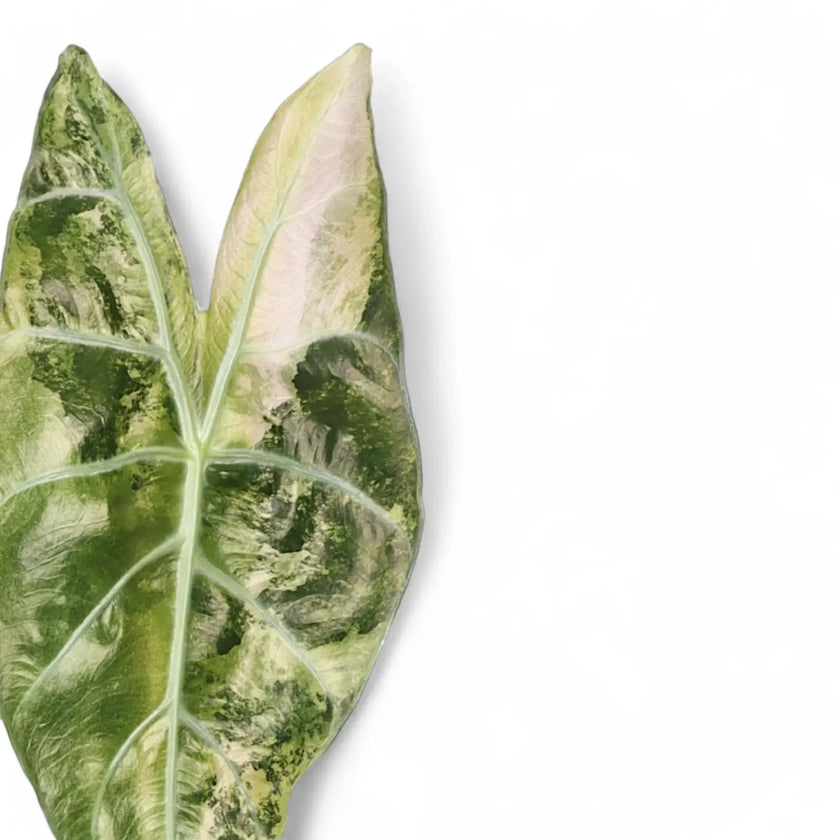
Alocasia 'Bisma'
Sold out
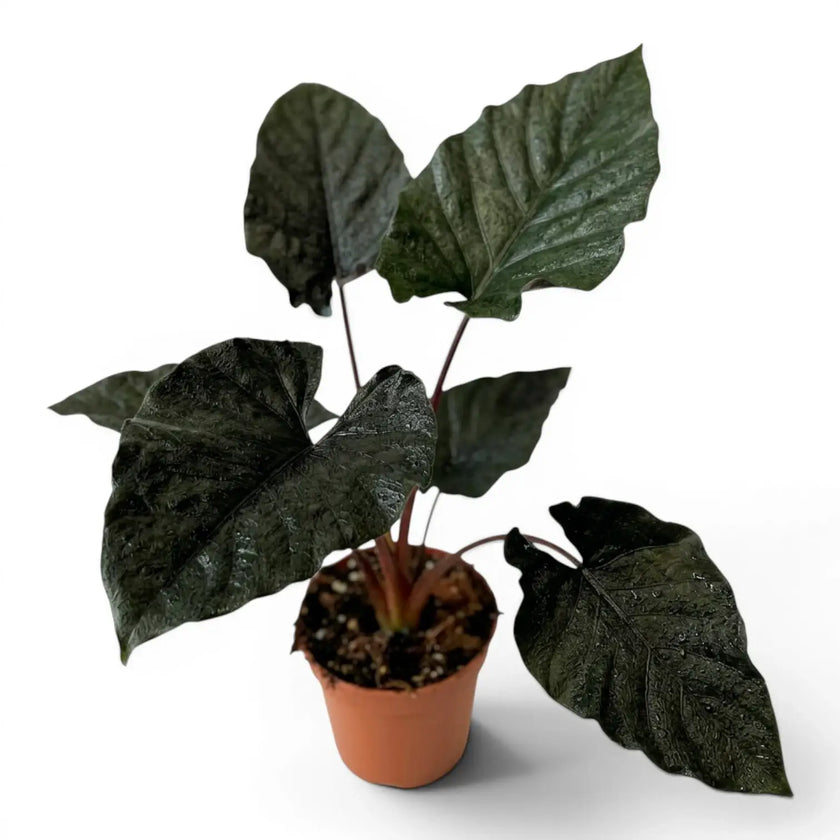
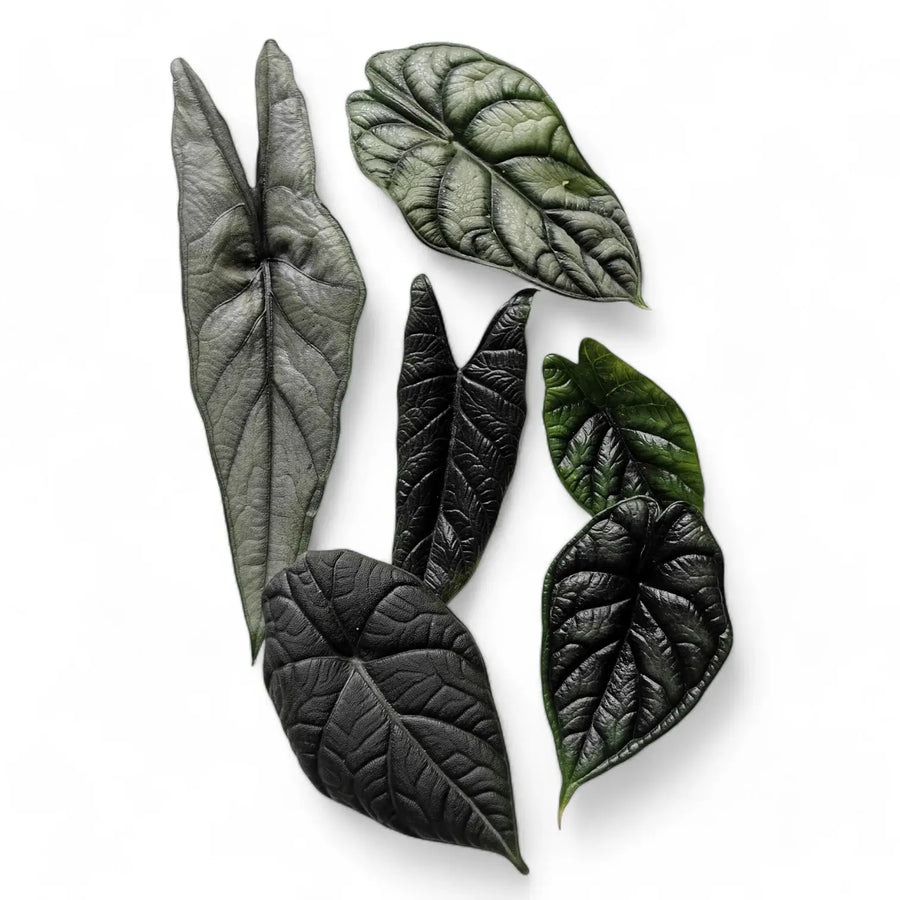
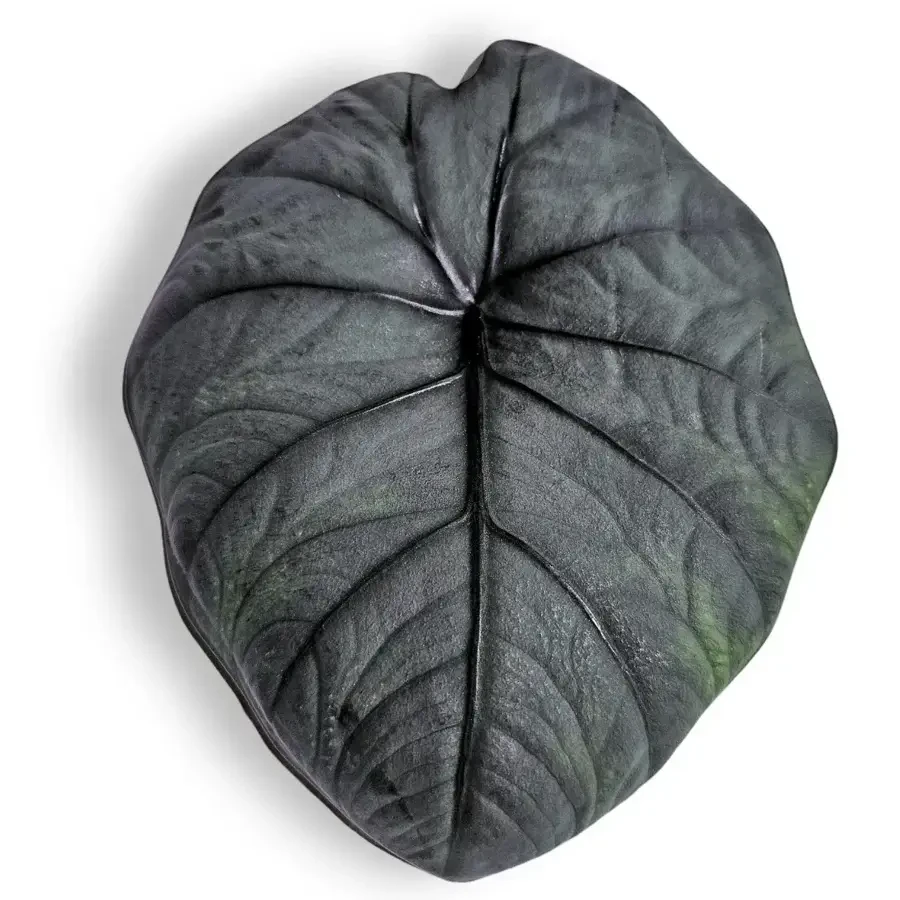
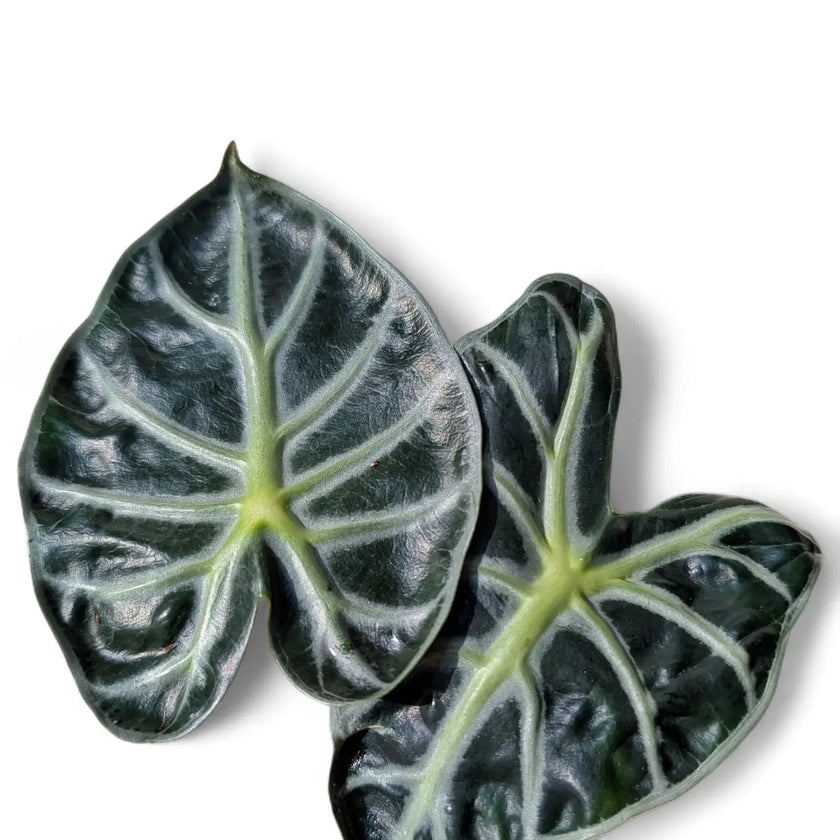
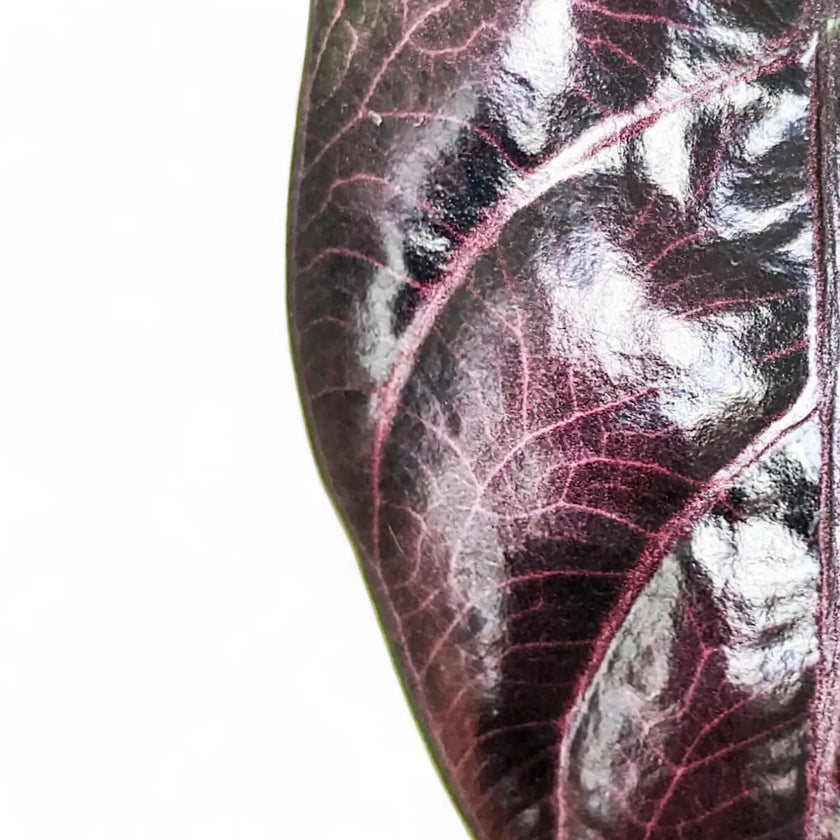
Alocasia 'Black Cobra'
Sold out

Alocasia 'Chantrierii'
Sold out
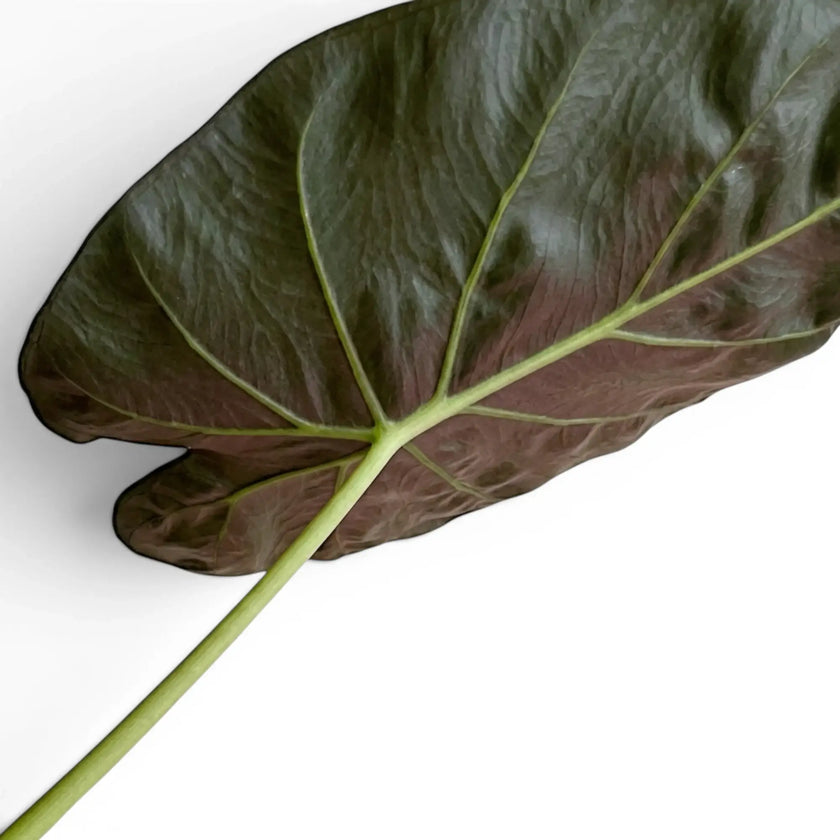
Alocasia 'Chocolate green'
Sold out
Alocasia 'Corazon'
Sold out
Alocasia 'Dragon Moon'
Sold out
Alocasia 'Dragon Tail'
Sold out

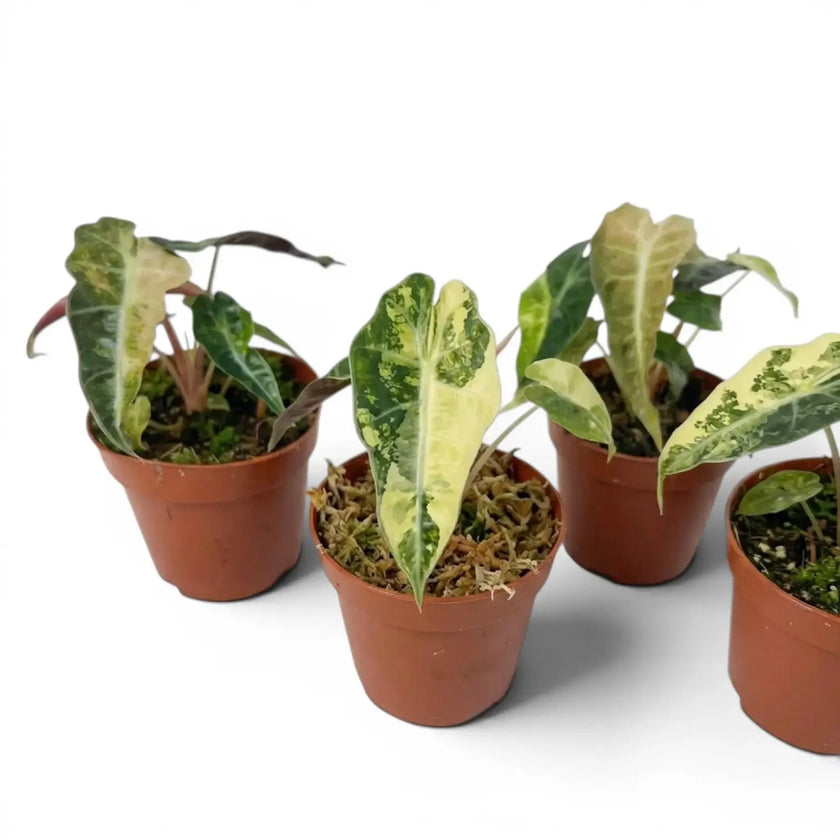
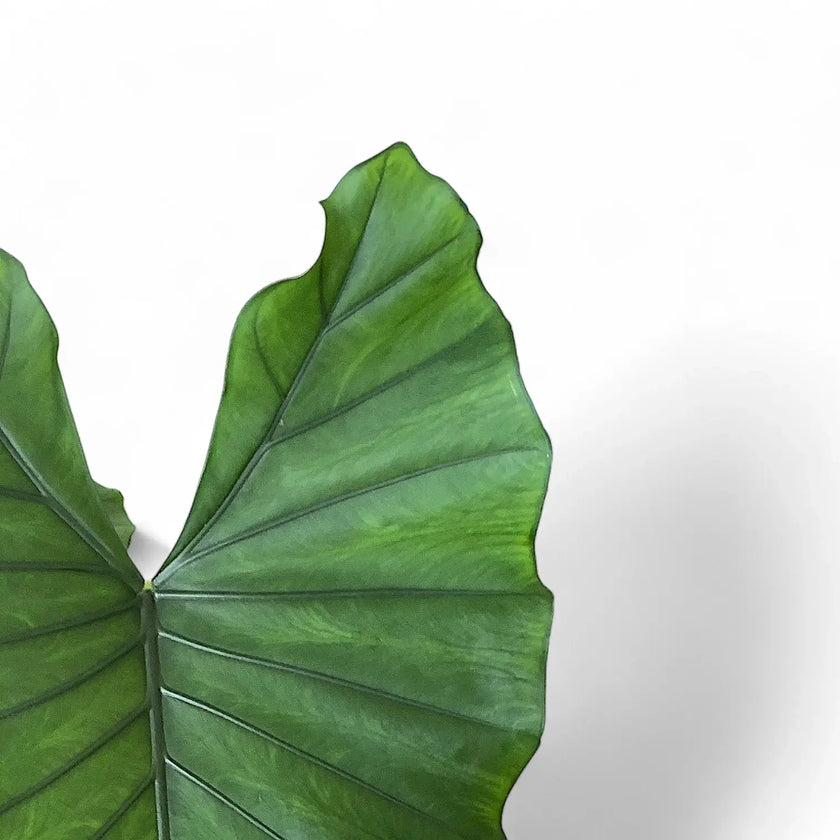
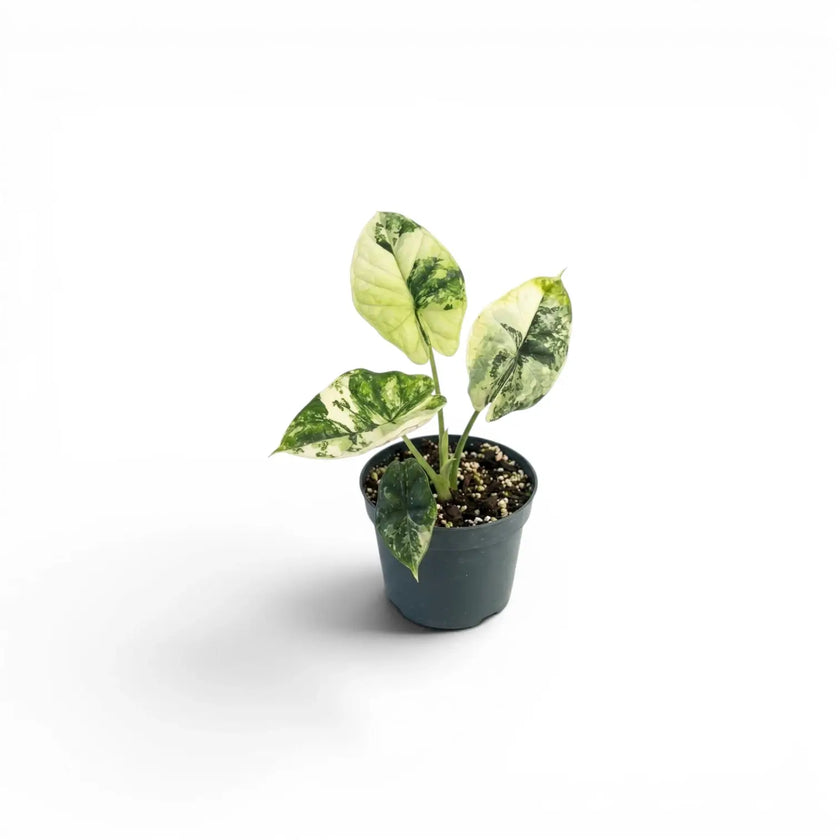
Alocasia 'Frydek' variegata
Regular price
From €18,75
Alocasia 'Golden Bone'
Sold out
Alocasia 'Golden Dragon'
Sold out
Alocasia 'Imperial Red'
Sold out
Alocasia 'Ivory Coast'
Sold out
Alocasia 'Jacklyn Ghost' ('Mint')
Sold out
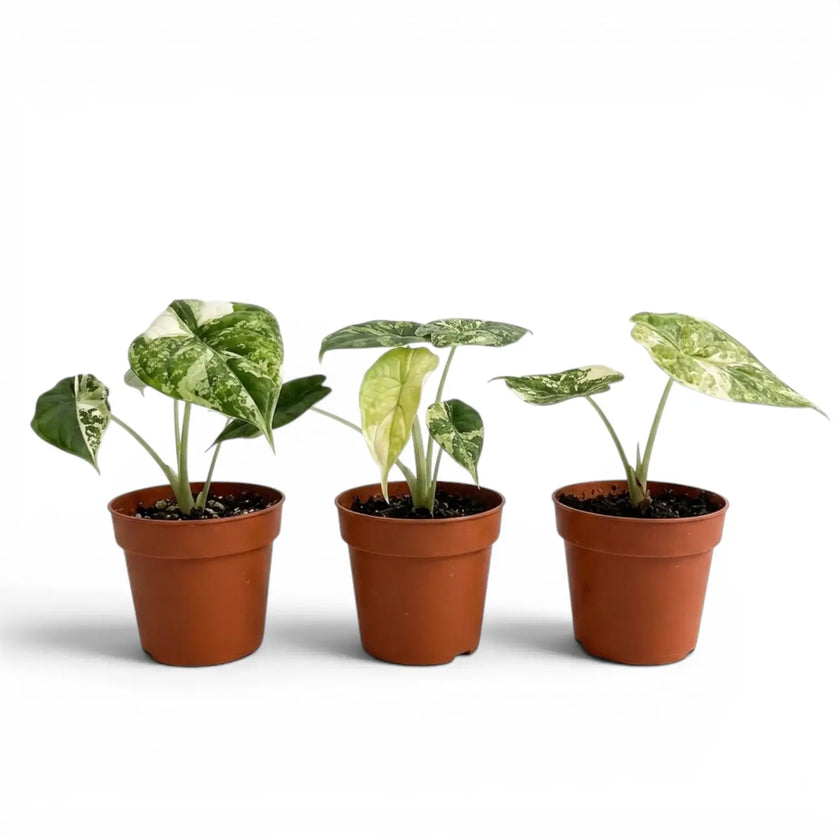
Alocasia 'Jacklyn'
Regular price
From €12,00
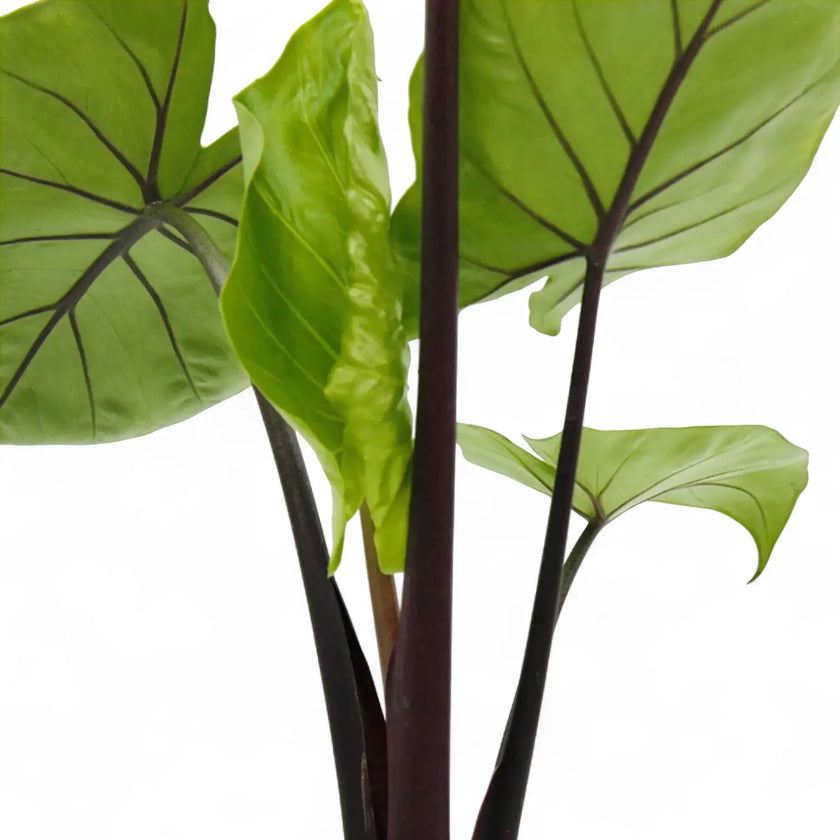
Alocasia 'Loco'
Sold out
Alocasia 'Low Rider'
Sold out
Alocasia 'Lukiwan' (alba × sinuata)
Sold out

Alocasia 'Maharani'
Sold out
Alocasia 'Metalhead'
Sold out

Alocasia 'Nairobi Nights' variegata
Sold out
Alocasia 'Opal beauty'
Sold out
Alocasia 'Pink Dragon'
Regular price
From €10,75
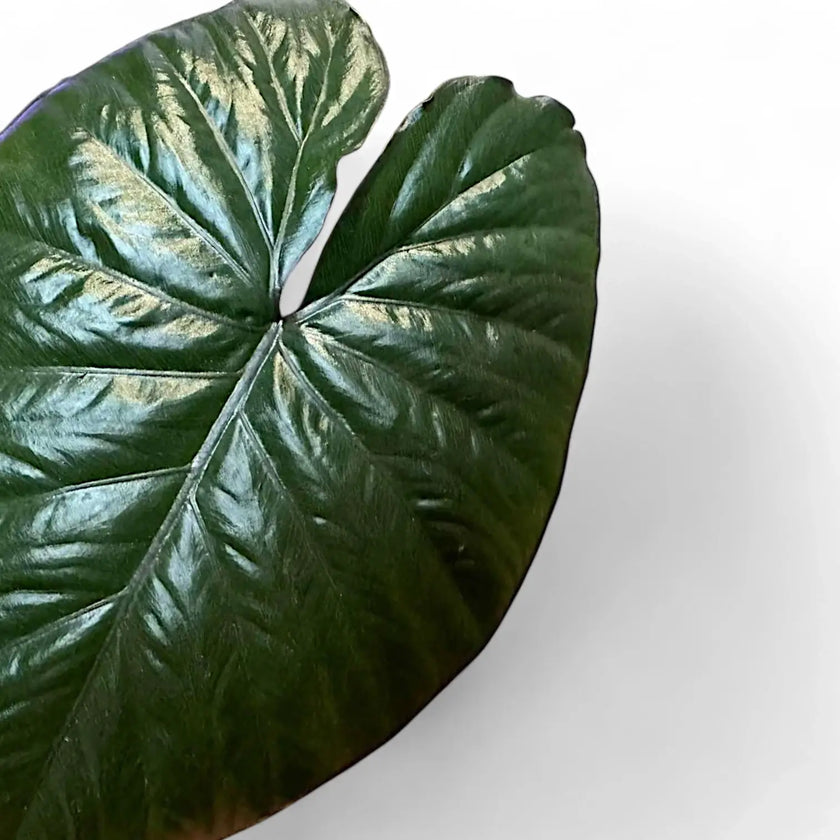
Alocasia 'Platinum'
Sold out
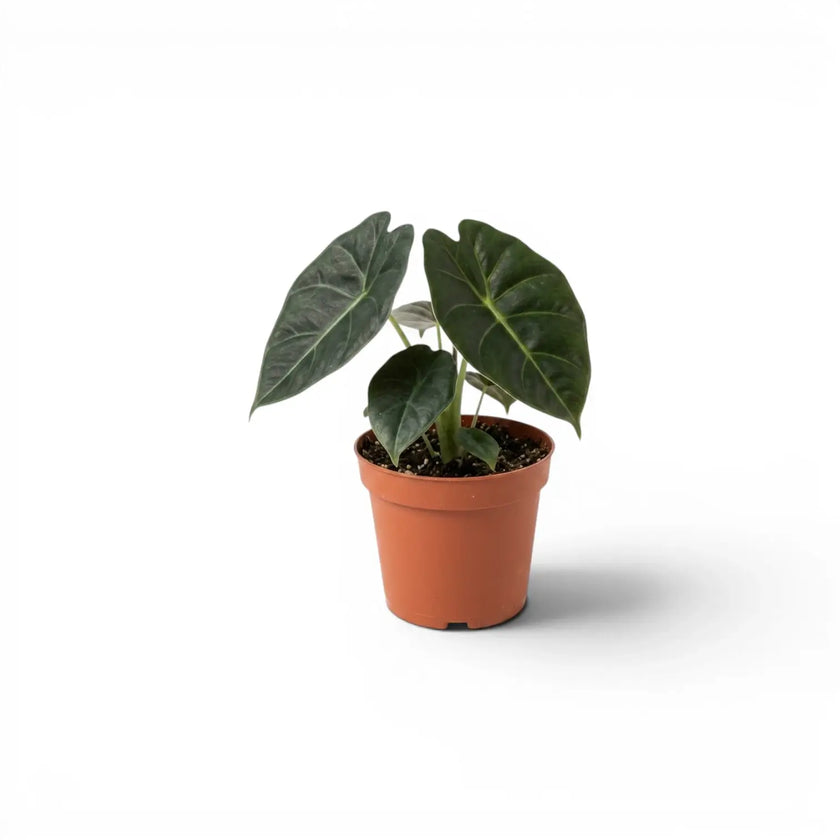
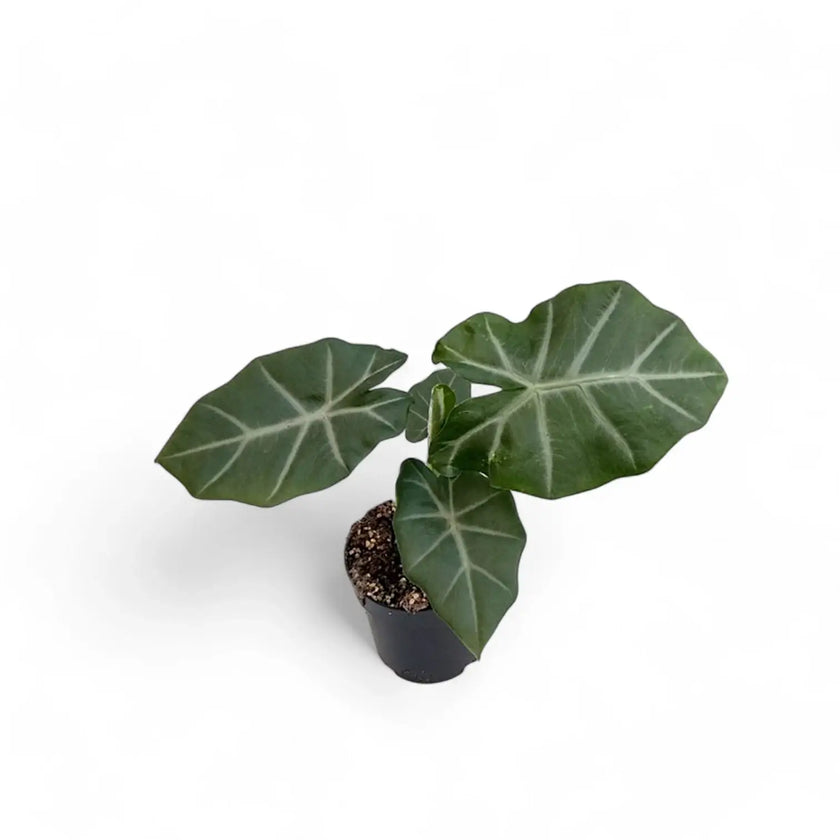
Alocasia 'Polly'
Regular price
From €9,50
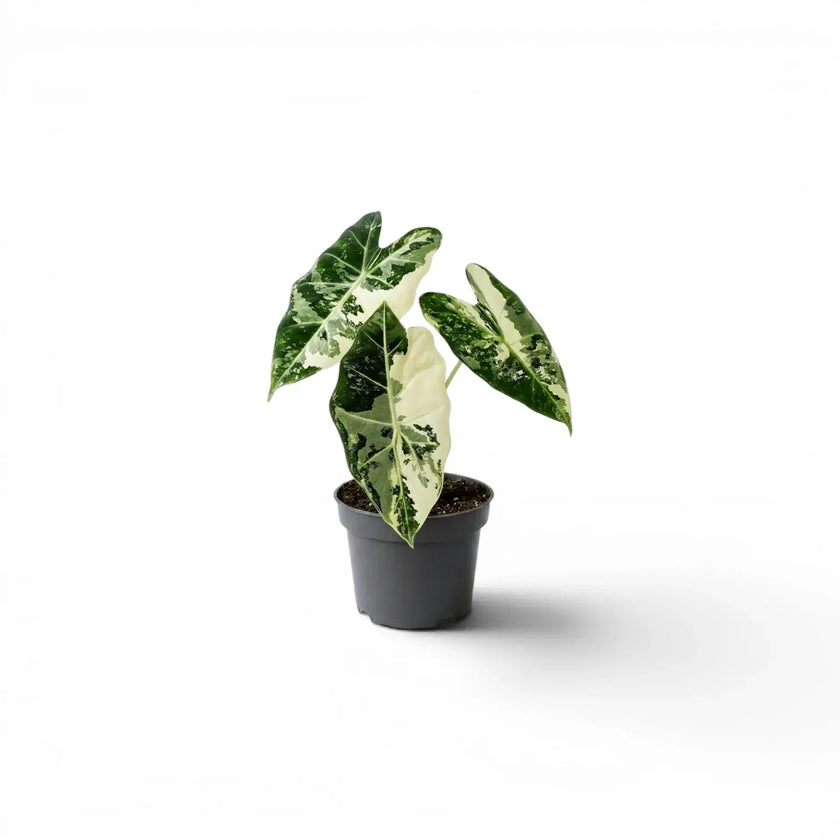
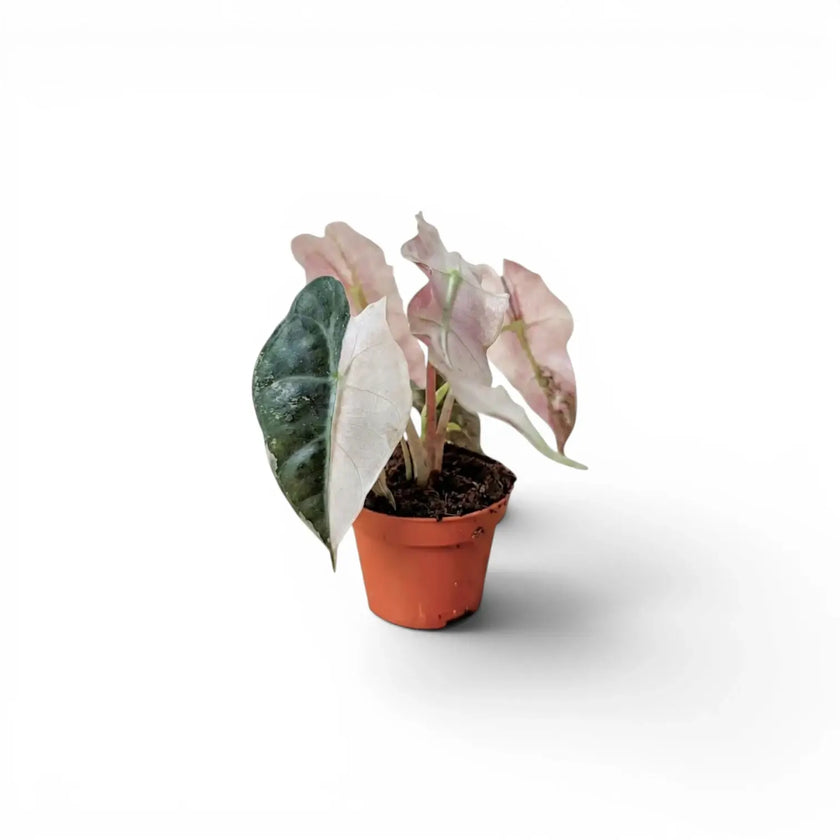
Alocasia 'Polly' Albo/ Pink Variegata
Regular price
€25,00
Alocasia 'Polly' variegata aurea
Sold out
Alocasia 'Prince of Curup'
Sold out
Alocasia 'Regal Shields'
Regular price
From €9,50
Alocasia 'Serendipity'
Sold out
Alocasia 'Silver Feathers'
Sold out

Alocasia 'Stingray'
Regular price
From €9,50
Alocasia 'Sumo'
Sold out
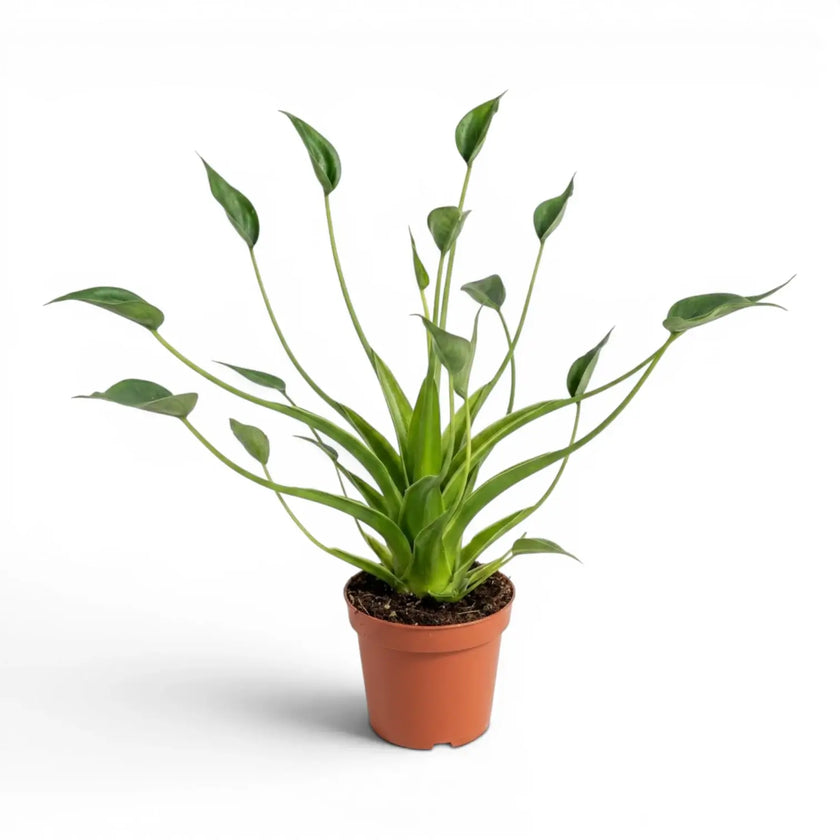
Alocasia 'Tiny Dancers'
Regular price
€16,00

Alocasia 'Venom'
Sold out
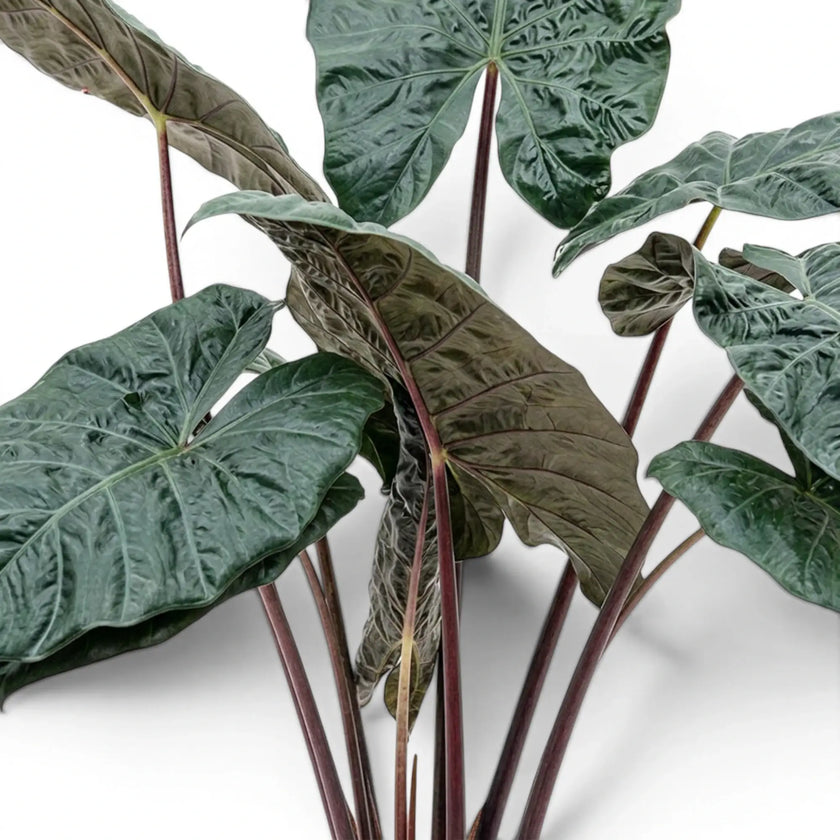
Alocasia 'Wentii'
Regular price
€20,00
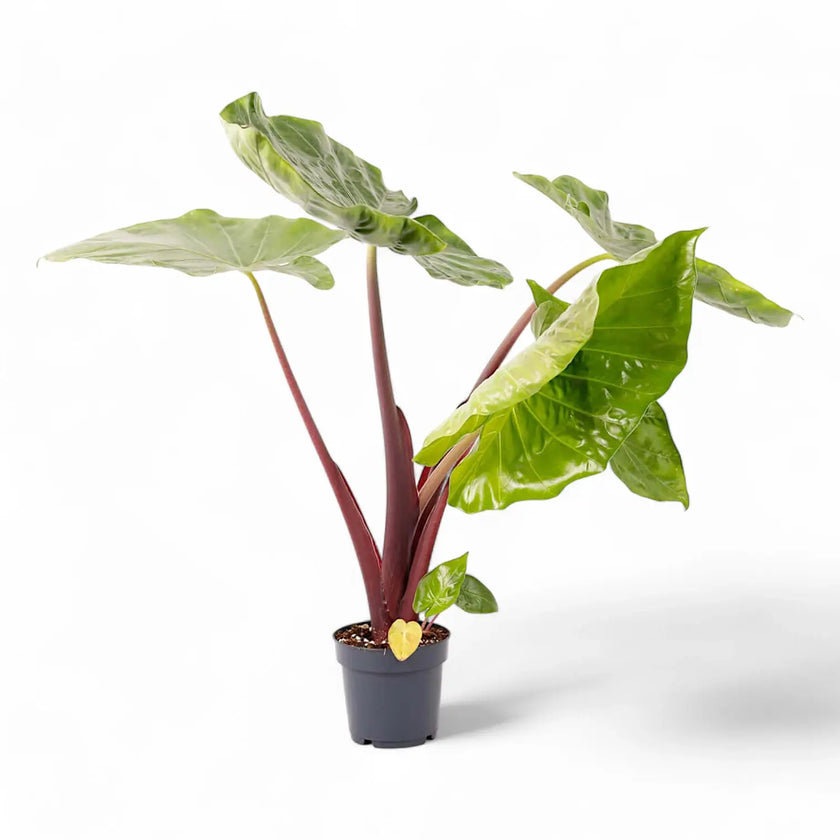
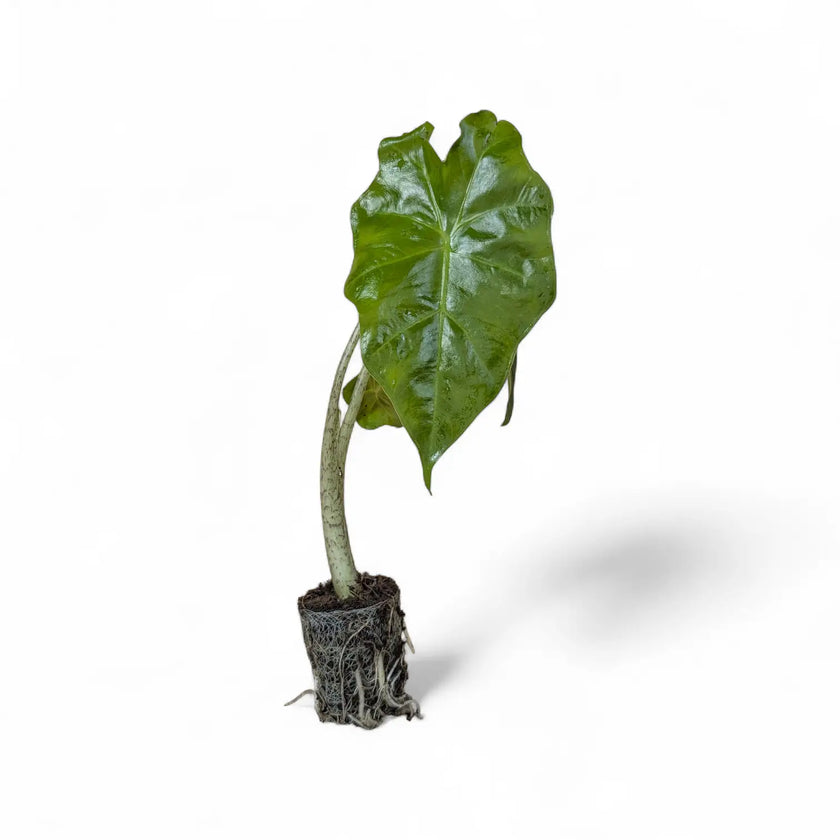
Alocasia 'Yucatan Princess'
Regular price
From €36,00

Alocasia alba variegata
Sold out
Alocasia azlanii
Sold out
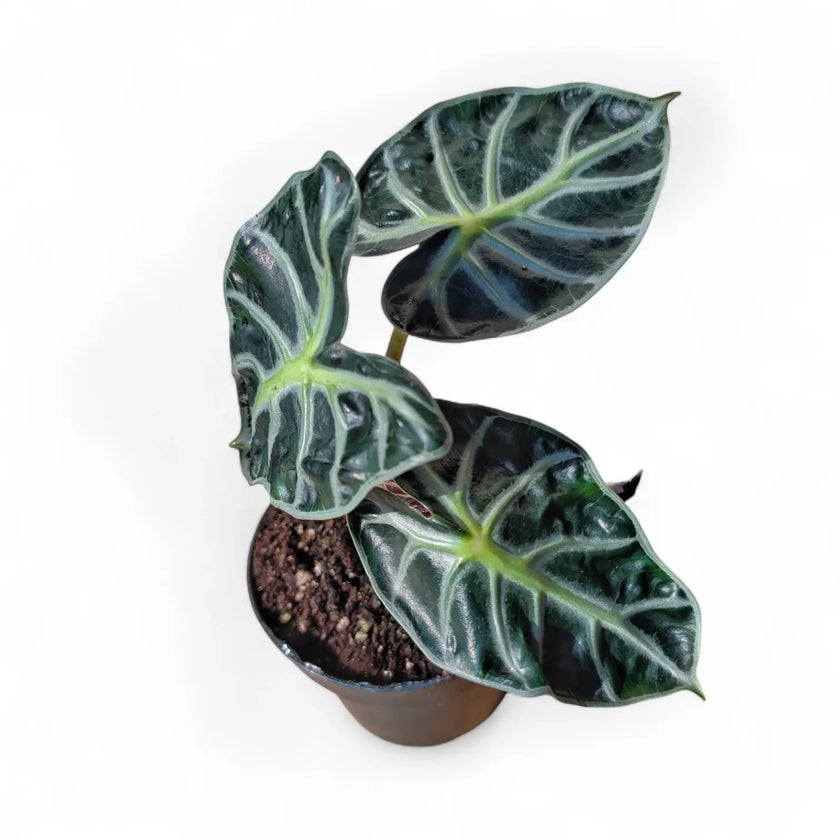
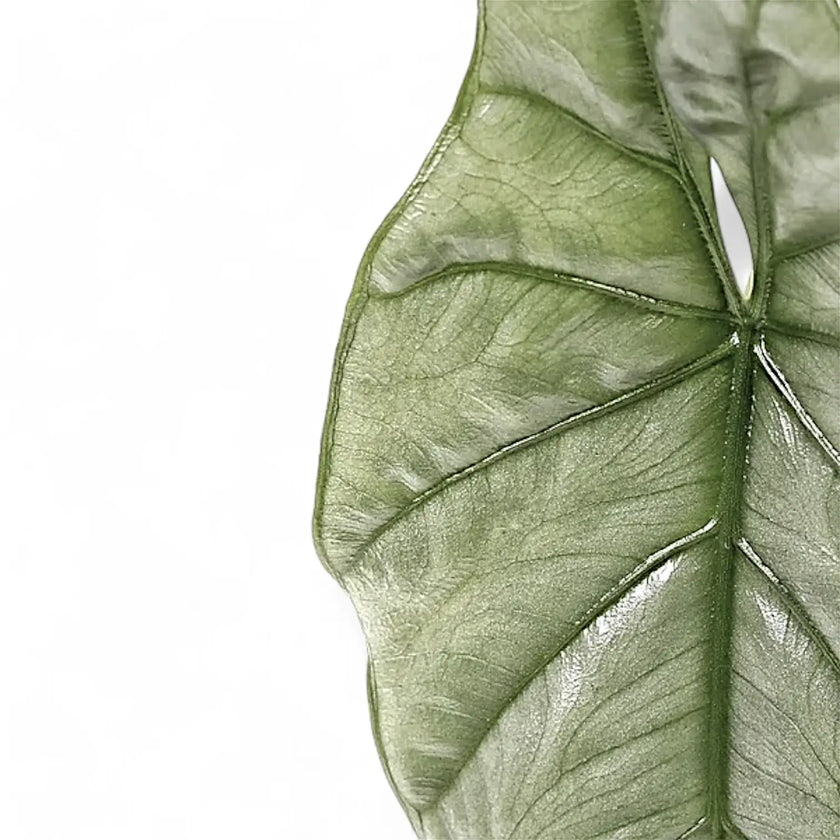
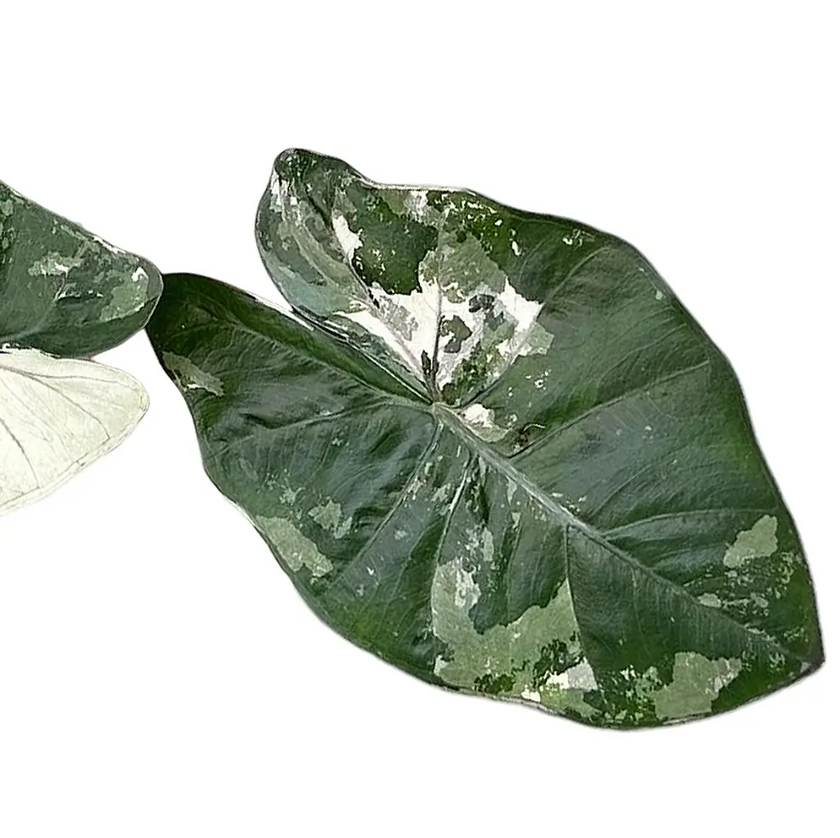
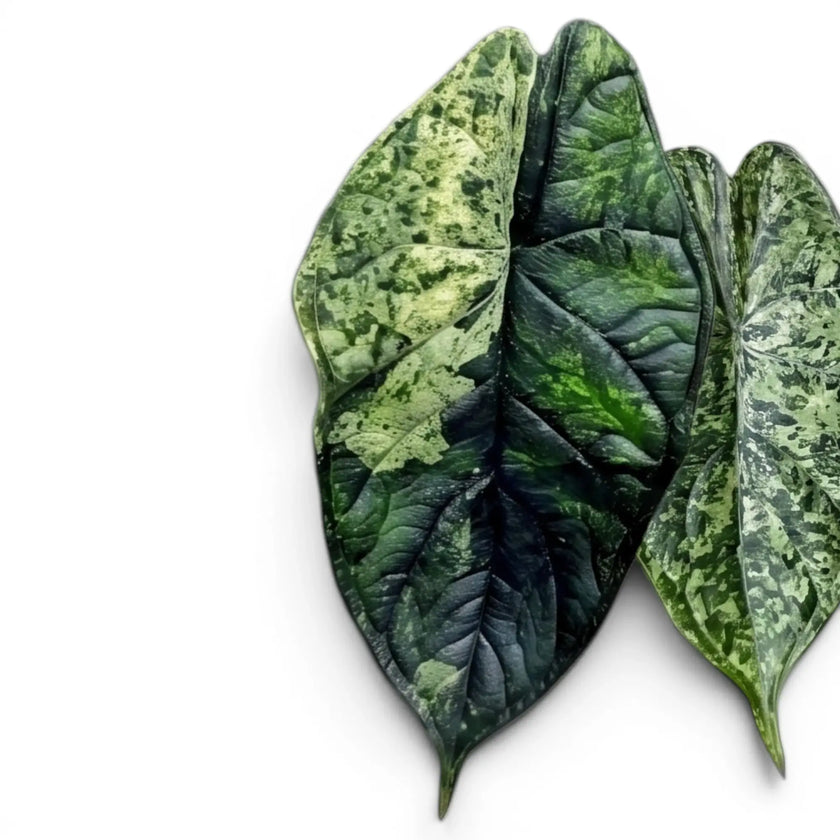
Alocasia baginda 'Dragon Scale'
Regular price
From €10,75

Alocasia baginda 'Dragon Scale' Albo-Variegata
Regular price
€65,50
Alocasia baginda 'Dragon Scale' Mint Variegata
Regular price
From €41,50
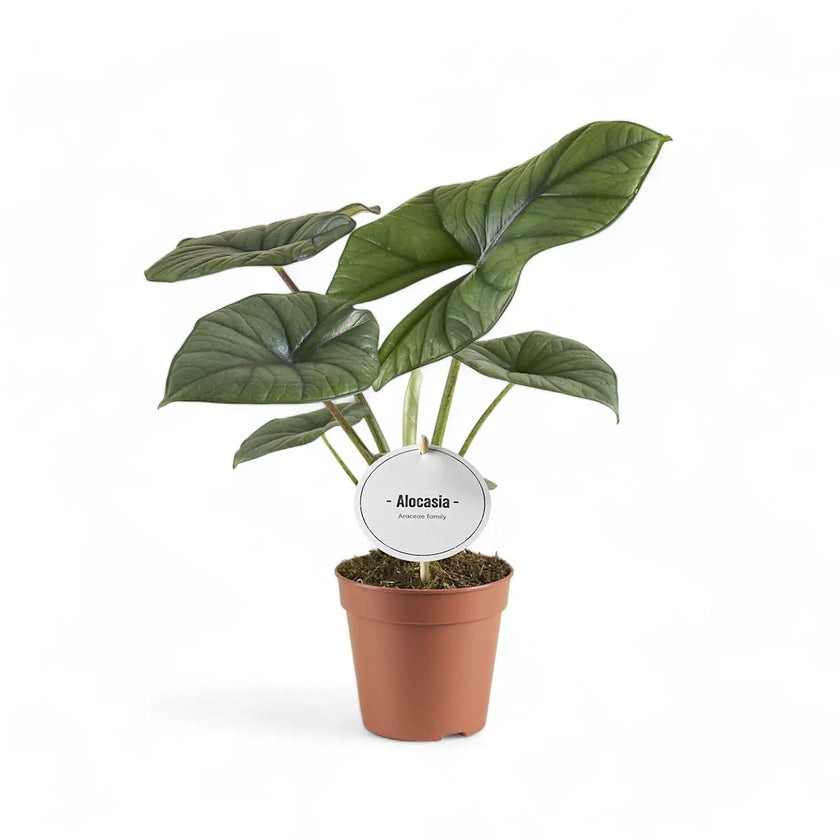
Araceae
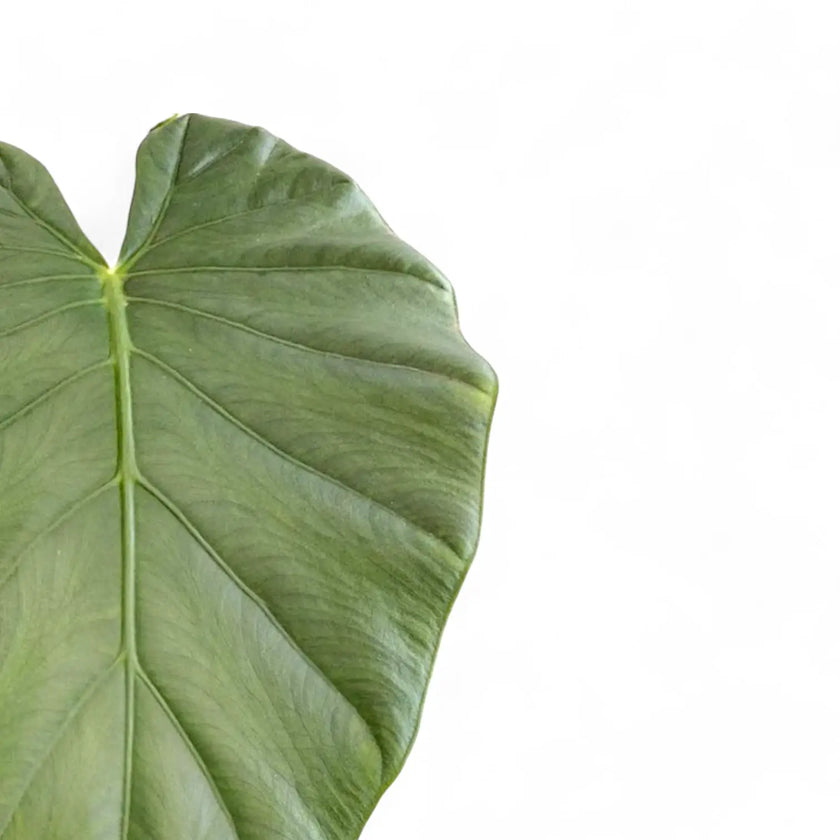
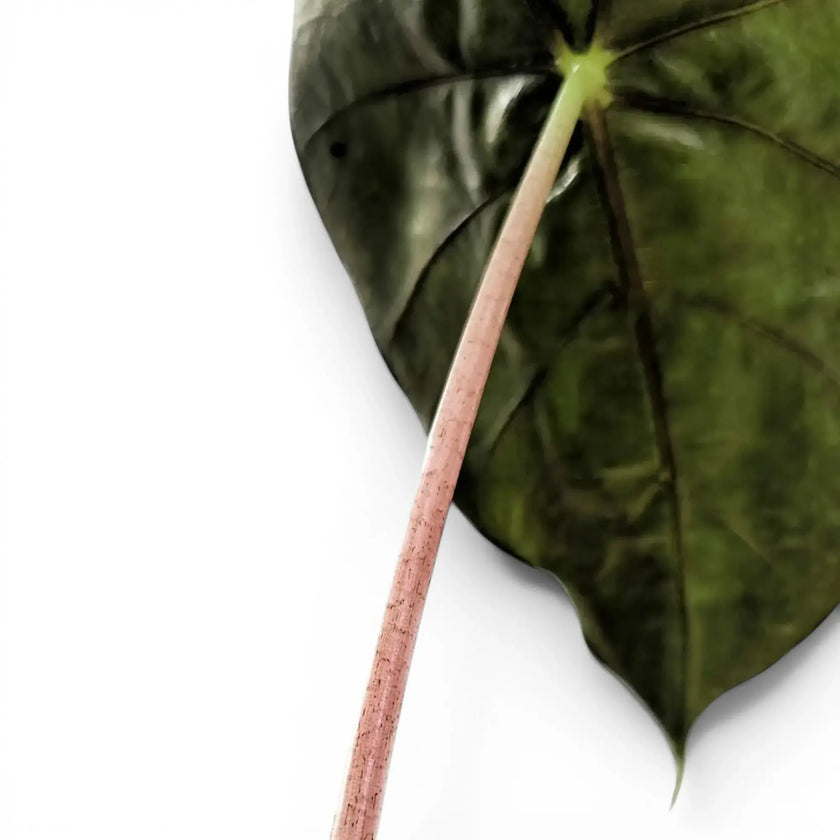
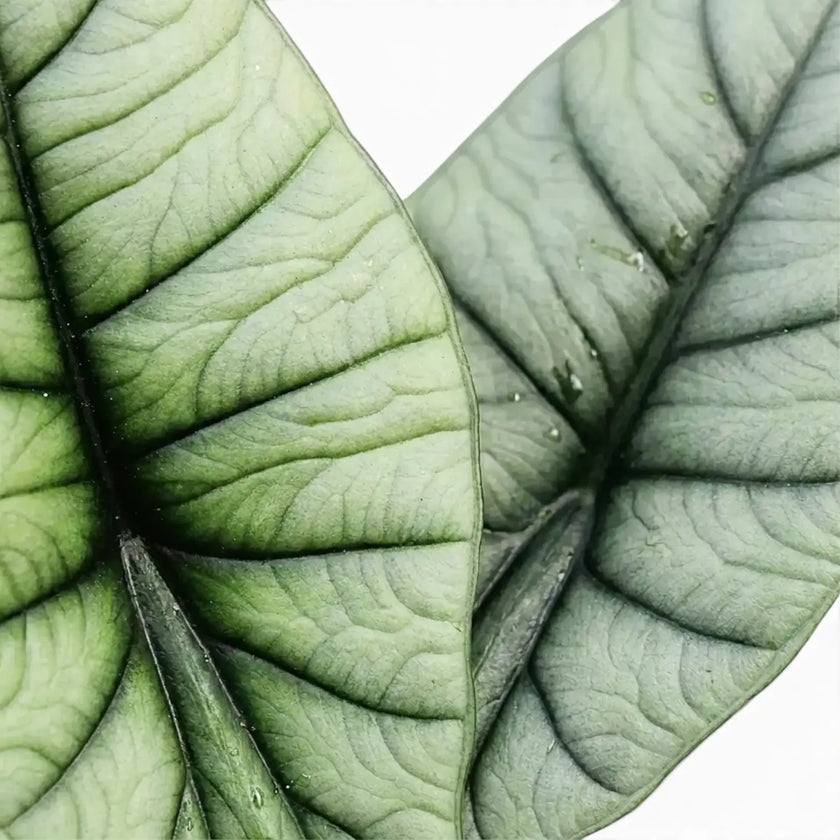
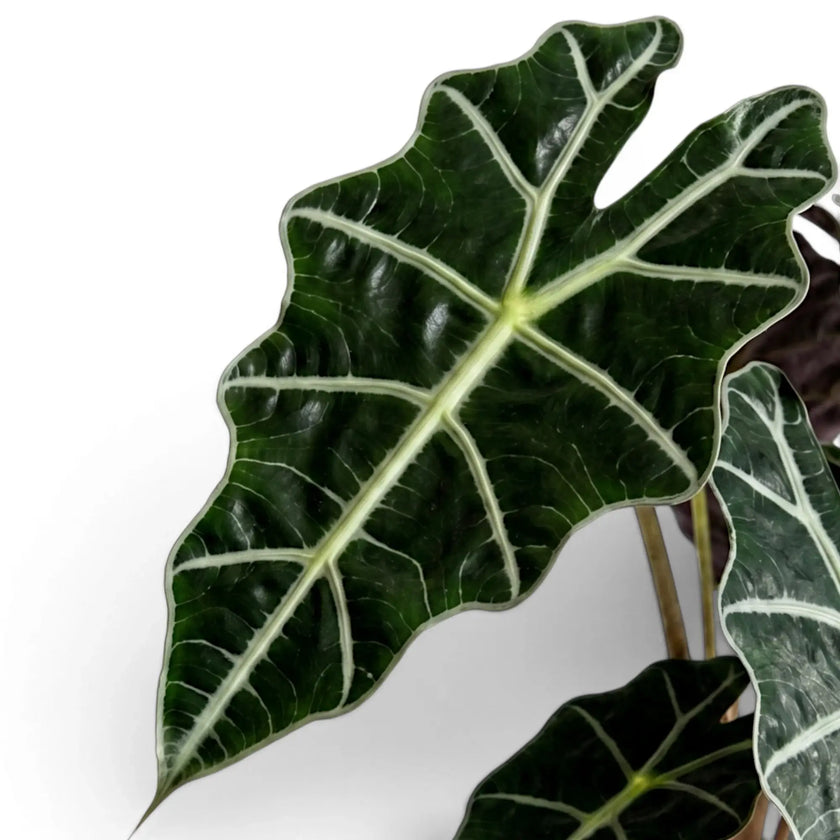
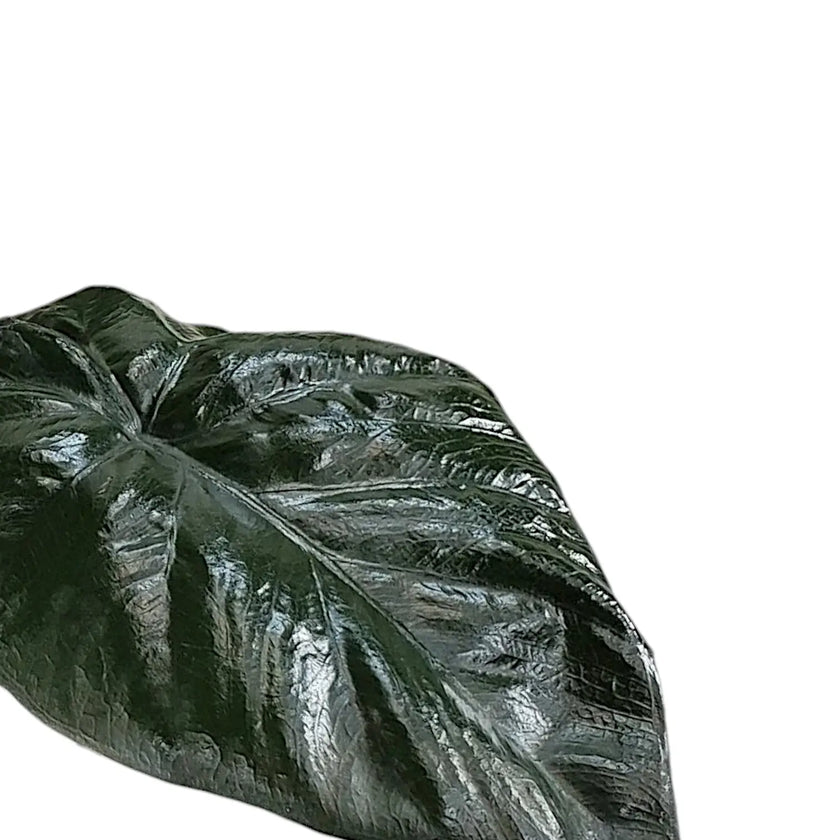
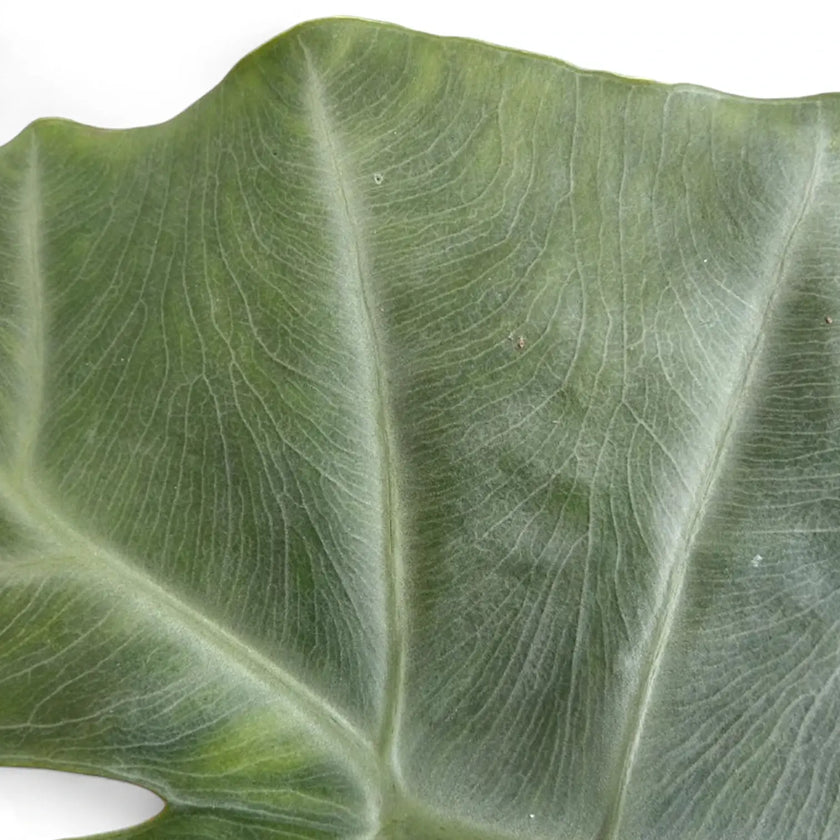
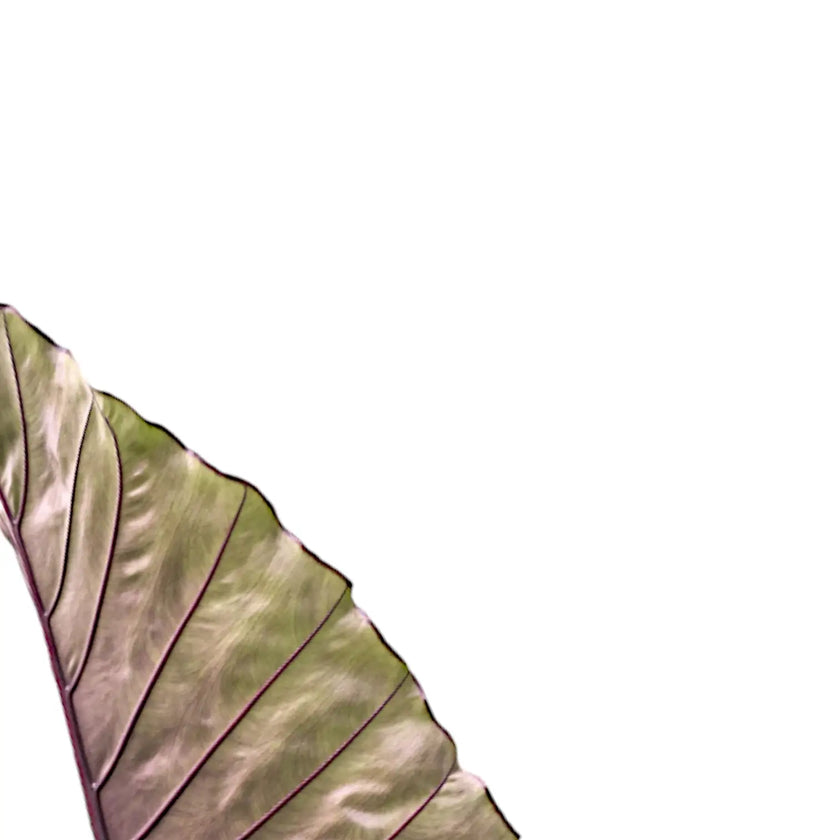
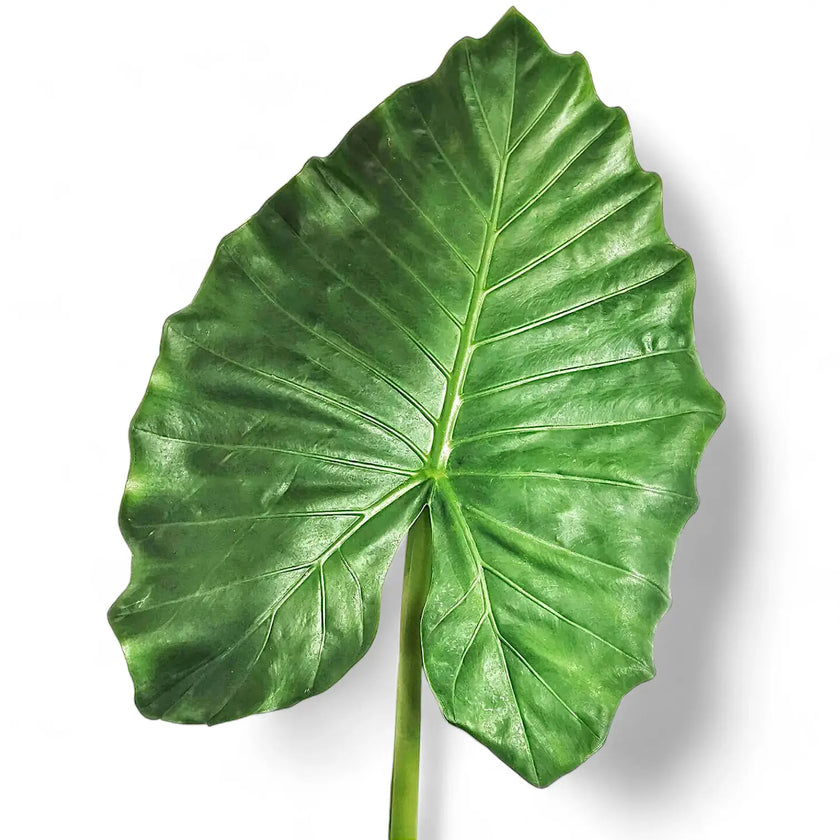
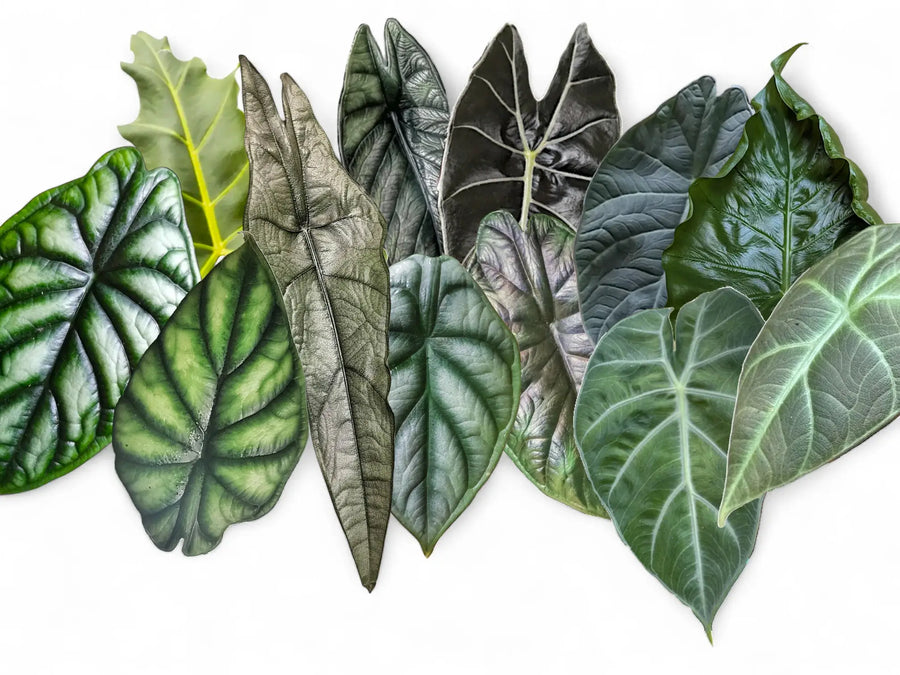
Alocasia
Frequently Asked Questions About Alocasia

Sign up for Foliage Factory newsletter for early access to new arrivals and practical care tips that work in real homes.